
KEY TAKEAWAYS
- Start with the right moisture. Target an average of 35% whole-plant dry matter for the best fermentation, and remember that corn can dry down rapidly as harvest approaches.
- Dial in harvest settings. Adjust chop length to match crop moisture and verify kernel processing (KPS >70%) to improve starch availability and reduce feed losses.
- Pack and seal aggressively. Thin layers, adequate tractor weight, and prompt covering with 6+ mil plastic and an oxygen barrier help remove oxygen and minimize spoilage.
- Finish strong at feedout—safely. Maintain a smooth, vertical silage face, remove enough feed daily to stay ahead of spoilage, and keep safety the top priority around all bunkers and piles.
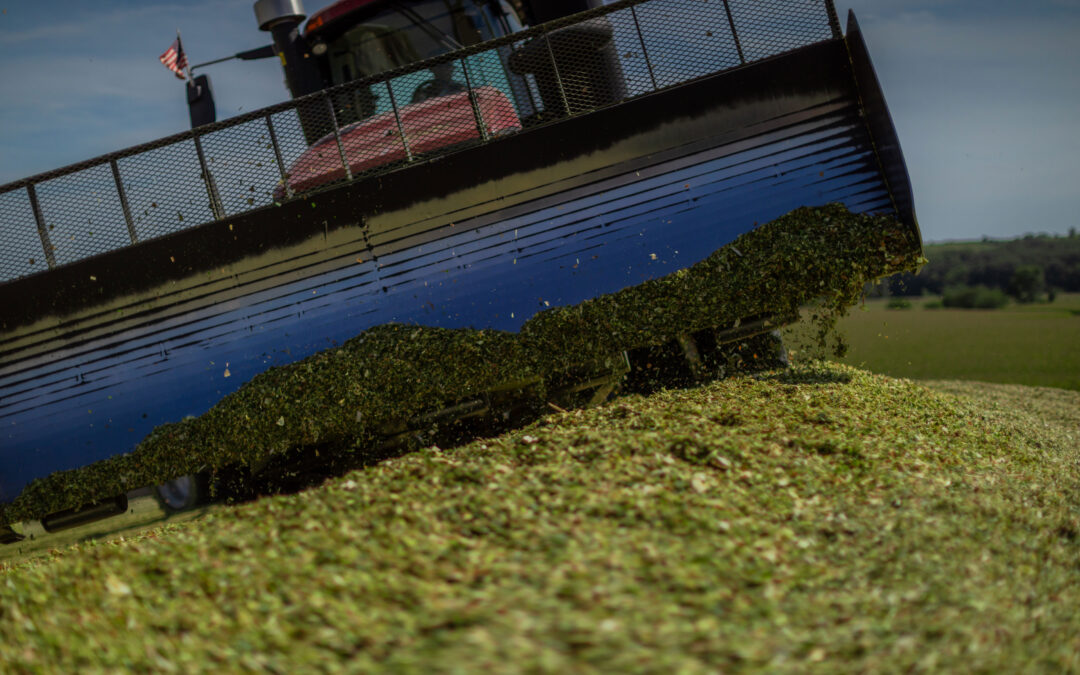
With the second half of summer already here, another season’s harvest is close at hand. Corn silage will make up a large share of the ration in the year ahead, and the routines followed over a few weeks of chopping will have a significant impact on its final quality. Weather, temperature, and timing are largely out of our hands, so success hinges on managing the variables we can control: moisture at chopping, chop length, kernel processing, packing, and covering. Below is a compilation of the field-tested advice our consultants share each harvest — a quick refresher before the first chopper rolls to help you put up the highest-quality crop possible.
Start With the Right Moisture
Moisture is the foundation of good fermentation. Chop too wet and you risk a poor fermentation with valuable nutrients lost to leachate; chop too dry and you sacrifice packing density and starch availability.
Catey Fischer, a Dairy Consultant based in Winona, Minnesota, keeps it simple: “Aim for 35% whole-plant dry matter on average, recognizing that each +/- percentage unit results roughly in a +/- unit of starch — the risk of losing NDF digestibility increases once dry matter exceeds 40%.” Kernel milkline is a useful second indicator but should not stand alone. As Chad Jenkins, a Senior Nutritionist in Omaha, Nebraska, notes, “At about one-half milkline, starch content and digestibility are optimized” — but he cautions that one-half milkline may not always equilibrate with whole-plant moisture, “which emphasizes why the tried-and-true benchmark of moisture should not be overlooked.” Fischer adds an important reminder about dry down pace: under dry, late-summer conditions, corn can lose up to a full point of moisture per day, so “once below the 70% whole-plant moisture mark, time is of the essence.”
Dial In Your Chop Length
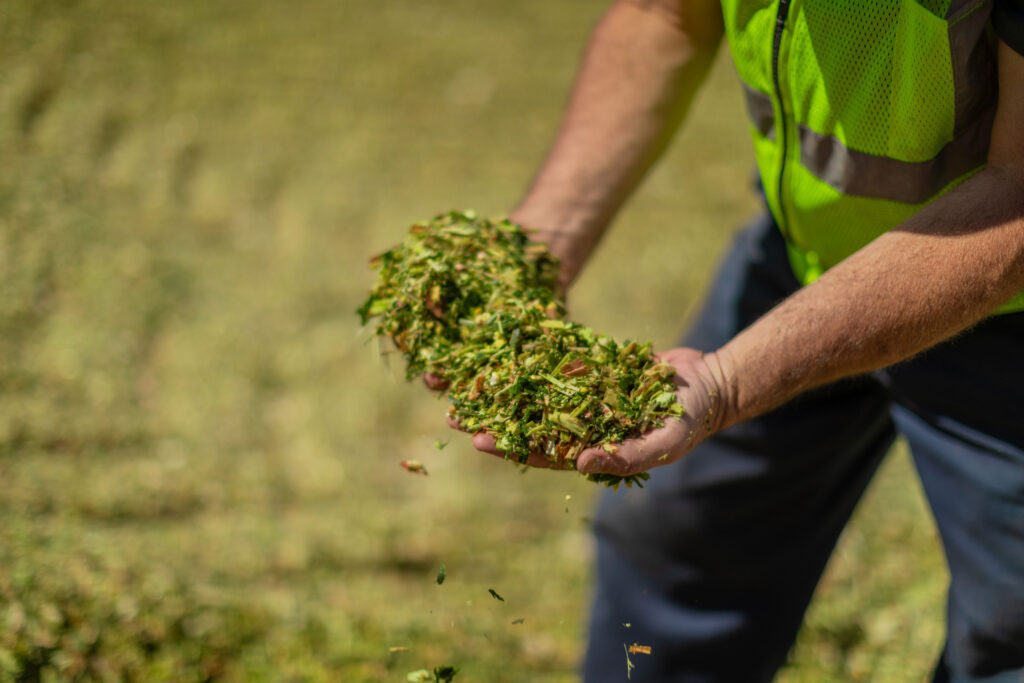
Theoretical length of chop (TLC) influences both how well silage packs and how the ration performs in the cow. Fischer’s rule of thumb captures it well: “The chopper should be set to a theoretical length of chop of ⅝″ to ⅞″ under target whole-plant moisture conditions, or ⅜″ to ½″ when dry (<60%).” As a general principle, the wetter the silage, the longer the chop can be.
When corn is taken drier and more mature than desired, Jenkins recommends shortening the chop. “A more mature corn plant will accumulate undigestible fiber (uNDF240) that contributes to lower dry matter intakes and milk yield,” he explains, and “reducing the particle length of higher uNDF240 silage will help bolster dry matter intake.” A Penn State Particle Separator can be used to spot-check loads for proper particle length distribution as they arrive, watching that the top screen and bottom pan stay within range and that the majority of particles land on the middle screen. The top screen should be no less than 3% and no more than 18%, with less than 10% in the bottom pan. Consider the rest of the ration, too: when hay is sparse and corn silage carries more of the diet, a bit more length supplies the physically effective fiber the cow needs.
Maximize Kernel Processing
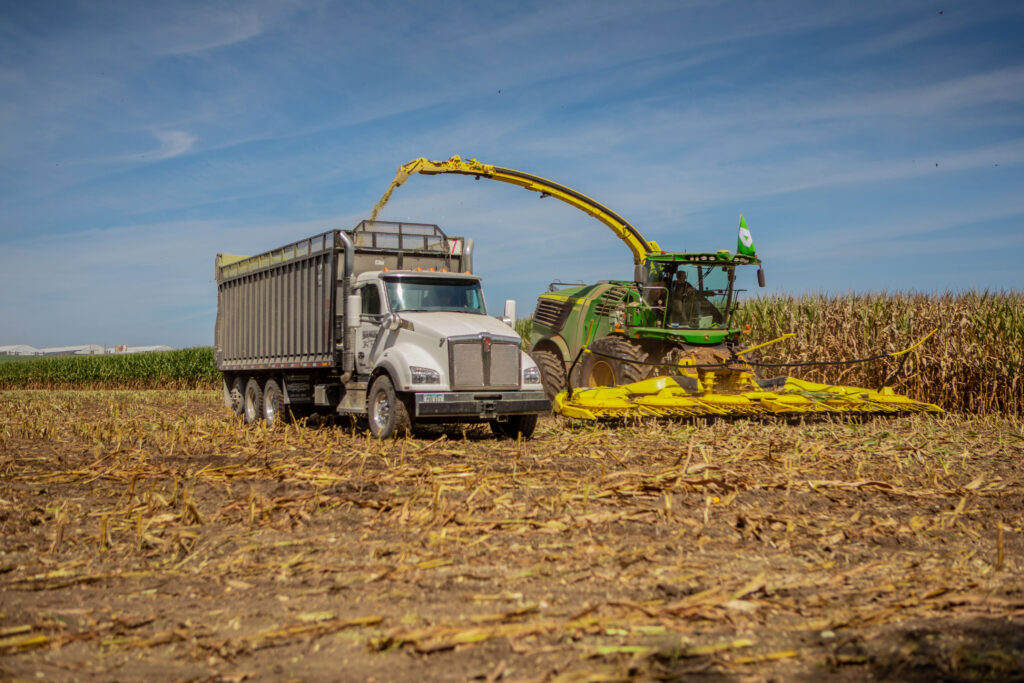
Few control points pay back like proper kernel processing. Breaking the kernel exposes protein surrounding starch granules to fermentation, and ultimately, to the rumen microbes that turn starch into milk. Jenkins makes the economic case: in a 1,000-cow herd, cutting fecal starch from 5% to 3% is “the equivalent of $17,500 per year of corn in the manure with $5.00 corn.” And because every 1% of fecal starch above 3% represents roughly 0.7 lb of lost milk, the milk left on the table can be worth another $75,000 a year.
Checking processing in the field is simple. Fischer’s guideline is a good one to memorize: “A 32 oz cup full of silage should contain no more than two, >1/2 size kernels.” If you find more, it’s time for a conversation with the chopper operator about tightening the roll gap. For a more precise measure, a laboratory kernel processing score (KPS) above 70% is the target.
Pack, and Then Pack Some More
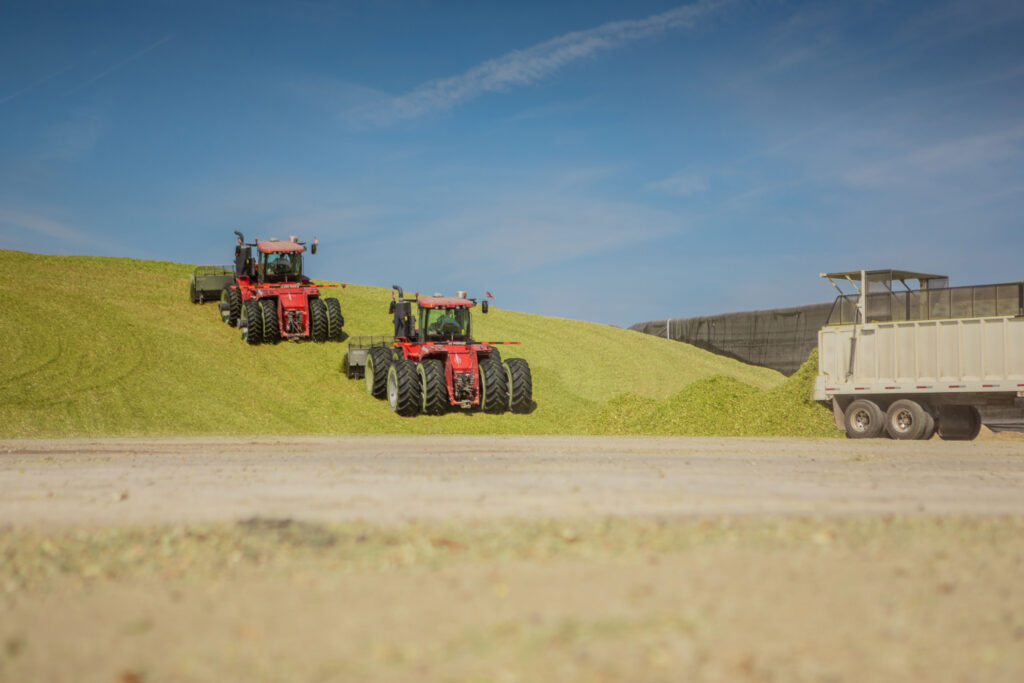
Packing removes the oxygen that a good fermentation depends on. When oxygen lingers, fermentation slows, yeasts and molds take hold, and dry matter is lost to spoilage. Two variables sit firmly within your control: layer thickness and tractor weight. Spread fresh silage in layers no thicker than 6 inches. As Fischer puts it, “the tractor weight needed is 800 lbs per ton of silage chopped per hour.” For perspective, a 60-ton-per-hour delivery rate needs roughly 24 tons of tractor weight — the equivalent of a large four-wheel-drive tractor with a dozer blade.
Whenever possible, pack by driving back and forth rather than turning on the pile, and avoid side slopes steeper than 3:1 run to rise for both packing effectiveness and operator safety. Well-managed corn silage should reach a density of 15 to 18 lb (or more) of dry matter per cubic foot.
Cover It Right, and Cover It Fast
The pile should be sealed as soon as material is in place. Fischer recommends a tarp “greater than 6 mil, and at least one tire per 9 ft²” to hold it down, and Jenkins suggest the addition of an oxygen barrier film underneath to protect the less-dense top layers where spoilage is most likely. Tires should be touching, and securing them together in a grid with baling twine or zip ties helps keep them from sliding and leaves fewer gaps for air to sneak in. In a concrete bunker, lining the sidewalls with plastic before chopping lets rainwater drain down the walls rather than into the feed.
Choose and Apply Inoculant Carefully
A research-proven inoculant speeds the pH drop and helps preserve dry matter. Jenkins stresses careful handling: because inoculants contain living organisms, they must be kept cool, mixed with cold rather than hot water, and used within 48 hours once mixed. Application rate matters just as much — the industry standard for homolactic bacteria is 100,000 colony-forming units per gram of fresh forage. Working backward from your chopping rate and the package’s advertised treated tons is a simple way to confirm you are on target; if you come up short, check for plugged spray nozzles or a mis-set applicator pump.
Choosing the right product deserves equal care. Brian Vaassen, a Regional Business Manager in Cuba City, Wisconsin, urges producers to start with the science: peer-reviewed, published data is the best evidence an inoculant will perform, yet “one could assume that less than 20% of inoculants have this type of published data, so proceed cautiously.” He also stresses matching the bugs to the goal: homolactic bacteria “will affect pH drop but are not very effective in altering the aerobic stability of silage [at feedout],” while Lactobacillus buchneri “will convert generous amounts of lactic acid to a moderate amount of acetic acid” during storage — the key to shelf life at feedout.
Manage the Face at Feedout
We haven’t truly succeeded until the crop reaches the bunk in good condition. Devin Hanson, a Dairy Consultant in Shallowater, Texas, reminds us not to slip into “relax mode” once the pile is covered: “The primary goals of silage face management are to minimize oxygen exposure to the silage, and once open, maintain a smooth face, removing enough of the silage to keep feed that is fed fresh.” A clean, vertical face “can reduce the amount of exposed material by up to 9% on account of simple geometry,” Hanson notes, and it is far less prone to avalanche than a face that has been undermined at its base.
Feedout pace matters too. Air can penetrate up to three feet into even well-packed silage, so Hanson advises removing enough face each day — generally 6 to 12 inches in cold weather and up to 18 inches during warm seasons — to stay ahead of spoilage. Sizing storage so that 12 to 15 inches can be removed daily helps smooth out the seasonal swings in cow intake.
Keep Safety First
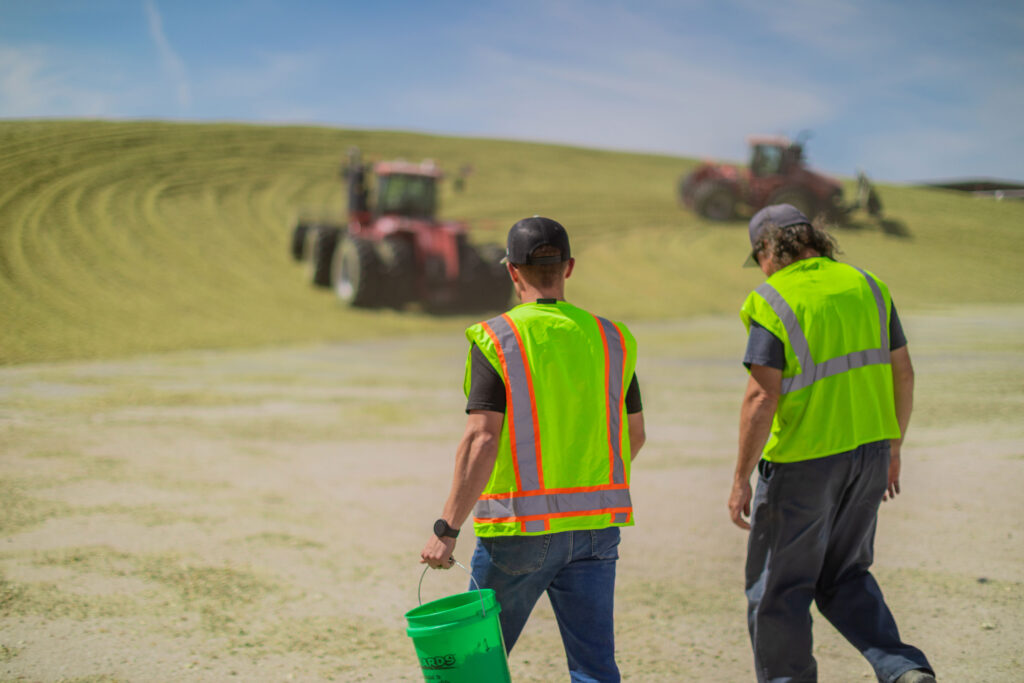
None of this matters more than the people doing the work. Fischer states “the most valuable asset on any dairy is the people,” and Hanson reminds us that “the priority in any bunker or pile face management is SAFETY.” Avalanches are unpredictable and can be lethal, so extreme caution should be used around a silage face, everyone involved should wear high-visibility clothing, and workers should never be alone near a pile.
The Bottom Line
A full year of planning, planting, and growing comes down to a few intense weeks of harvest. Get the moisture, chop, kernel processing, packing, and cover right — and then manage the face carefully at feedout — and you will be rewarded with high-quality silage that supports milk production all year long. As always, your Standard Dairy Consultant is ready to help you fine-tune these decisions for your operation.often helps put the exchange of dollars into perspective and gauge the magnitude of profitability.
Silage Harvest Checklist: Standards & Field Checks
| Harvest Metric | Target Standard/Metric Value | Field Check/ Notes |
|---|---|---|
| Moisture | 35% average whole-plant moisture | Secondary indication: ½ kernel milkline |
| Chop Length | Target moisture: ⅝″ to ⅞″ Dry: ⅜″ to ½″ | PSPS: 3 to 18% top screen, <10% in the pan |
| Kernel Processing | Lab KPS >70% | 32 oz cup: Max 2 kernels > ½ size |
| Packing | 800 lbs tractor weight per ton/hr | Density: > 15 lbs DM/ft3 Slope: max 3:1 |
| Covering | >6 mil plastic + oxygen barrier | At least 1 tire per 9 ft 2 grid |
| Preservation | 100,000 CFU/g of fresh silage | Keep cool; use within 48 hours |
Table outlining key corn silage harvest metrics, target standard values, and field check guidelines for moisture, chop length, kernel processing, packing, covering, and preservation.
Want to run these numbers for your own herd?
Our experienced team knows how to apply their knowledge to your specific operation in ways that directly impact your efficiency and performance and, ultimately, your profitability.
